
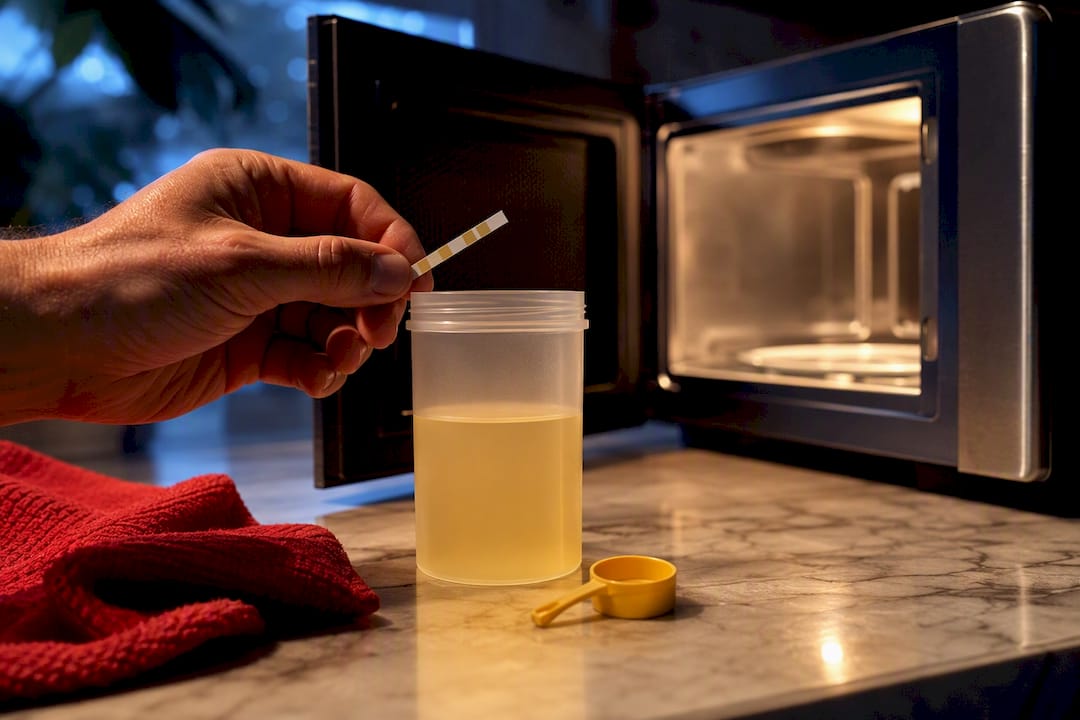

The accepted range for a freshly voided sample sits between 90°F and 100°F, with most collection sites happiest around 96 to 98°F. The fastest reliable path there: microwave the sample in short bursts until it reads in range, then switch to a chemical hand warmer or body heat to hold it steady on the way to the testing site. Miss that window and you’re looking at an on-site re-collection, or worse, a refusal on record.
TL;DR:
- Urine samples must be between 90°F and 100°F upon collection, with most sites preferring around 96 to 98°F, to avoid suspicion.
- Heating synthetic urine requires short microwave bursts, shaking, and applying chemical heat pads or hand warmers, with careful placement and insulation.
- Maintaining temperature during transport involves wrapping the sample in multiple layers, applying heat sources on opposite sides of the container, and keeping it close to body heat.
- Labs check temperature within minutes using strips and also perform additional validity tests like specific gravity, pH, and creatinine to detect fake urine.
- Common mistakes include misplacement of heat pads, relying solely on body heat, and early heating; thorough pre-appointment checks improve chances of passing temperature filters.
Table of Contents
- What Temperature Range Is Accepted, and Why It Matters
- How to Heat Synthetic Urine to the Right Temperature
- How to Keep the Sample in Range During Transport
- How Labs Check Temperature (and What Else They Test)
- Common Mistakes and Quick Fixes at the Collection Site
- A Note From Michael at Passdrugtest
- Your One-Minute Pre-Departure Checklist
- Products That Make Temperature Control Easier
- Sources
What Temperature Range Is Accepted, and Why It Matters
Freshly voided urine leaves the body around 98.6°F and starts losing heat the moment it hits open air. Collection staff know this, which is why the acceptable window for a specimen is set at 90°F to 100°F rather than one exact number. That range gives some room for the natural drop that happens between voiding and handing over the cup, but it’s tighter than most people assume. Samples outside the typical human urine temperature range fall outside the window and get flagged as suspicious.
Timing is the part people underestimate. Urine cools fast once it’s out of the body, and testers are trained to check the cup’s temperature within minutes of collection, not at the end of the visit. That short check window exists specifically to catch substituted or synthetic samples before they’ve had time to drift toward room temperature and start looking like they came from a bottle instead of a bladder.
Temperature is also just the first filter, not the only one. Collection sites run specimen validity testing, commonly called SVT, which checks specific gravity, pH, and creatinine levels alongside temperature. A sample can land in the right temperature range and still get flagged if its creatinine is too low or its pH sits outside normal human values. This is why getting the temperature right matters so much: it’s the first hurdle, and if you clear it, the sample moves forward to checks that a well-formulated synthetic urine is built to pass. Fail the temperature check, though, and none of the rest matters. The test is over before it starts.
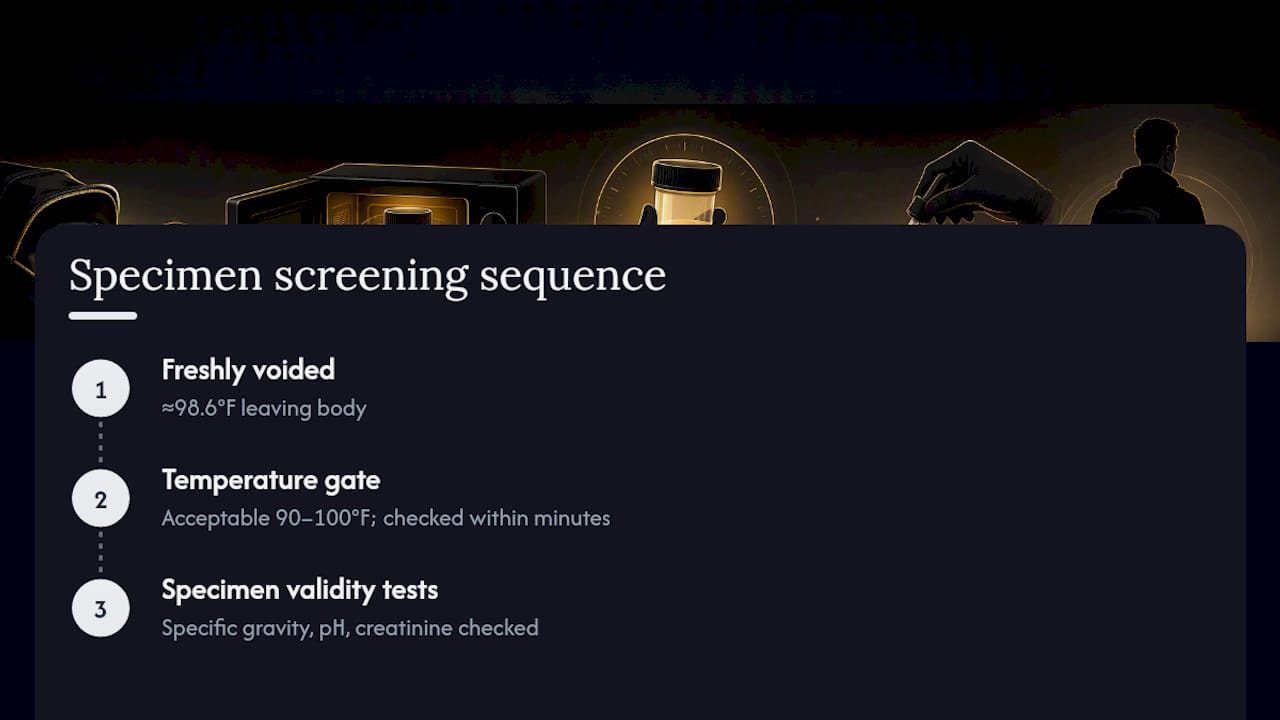
A guide on keeping synthetic urine warm breaks down why this two-stage scrutiny exists and how the chemistry of a quality synthetic formula holds up under it.
How to Heat Synthetic Urine to the Right Temperature
Getting a cold sample into the 90 to 100°F range takes the right tool and a little patience. Here’s the process that actually works, step by step.
- Remove the cap before microwaving. Sealed containers build pressure when heated, and a cracked bottle at this stage ruins the whole plan.
- Microwave in 10 second bursts. Start short. A full minute in one go almost always overshoots or creates scorching hot pockets near the container walls.
- Shake the bottle after every burst. Microwaves heat unevenly, so agitating the liquid between bursts spreads the heat and keeps one section from cooking while another stays cold.
- Apply the temperature strip and read it after mixing. Never check the strip mid-heat. Wait until the liquid is evenly distributed, then check.
- Repeat short bursts until the strip lands in range. Most bottles need two to four rounds of 10 seconds, depending on your microwave’s wattage and the starting temperature.
That covers the initial heat. Holding it steady until you’re standing in front of a collector is a separate problem, and it calls for different tools.
Chemical heat pads and adhesive hand warmers are the standard for maintenance. Activate the pad a few minutes before you need it. Most need brief exposure to air to trigger the exothermic reaction, and they don’t hit peak output instantly. Stick it to the container with the adhesive side facing out, opposite the temperature strip, and give it a minute or two to start transferring heat before you seal everything up for transport.
Some kits include a heat-activating powder or a dedicated activator packet instead of pads. If yours does, follow the kit’s mixing ratio exactly. Adding too much can push the sample’s chemistry out of range even if the temperature looks fine, and adding too little won’t generate enough heat to matter.
Body heat has a real role here, but it’s the wrong tool for the first job. Tucking a cold sample against your skin will not bring it from room temperature into the 90s fast enough before an appointment. Skin runs around 90 to 95°F at the surface, which is barely enough to maintain an already warm sample, let alone rescue a cold one on a deadline. Use body heat only after the sample is already in range from microwaving.
Pro Tip: Never run a microwave burst longer than 10 seconds at a time on a full container. Plastic bottles can warp or the seal can weaken well before the liquid reaches a dangerous temperature, and a compromised bottle is a much bigger problem than a slow heating process.
A word on safety: overheating doesn’t just risk a no-reading strip. Extended high heat can also degrade the chemical balance in a synthetic formula, which matters when the sample still has to clear specific gravity and pH checks downstream. Slow and controlled beats fast and careless every time.
How to Keep the Sample in Range During Transport
Reaching the right temperature is only half the job. Holding it there for the drive, the waiting room, and whatever line forms in front of you is where most attempts actually fail.
Insulation does more work than people give it credit for. A sample wrapped in a sock, tucked into a fabric pouch, or held inside a dedicated holster loses heat far slower than one riding loose in a bag or pocket. Layering matters more than any single material: one wrap traps a little warmth, three wraps with the heat pad sandwiched in the middle trap a lot more.
The most dependable approach combines two heat sources in sequence rather than relying on one:
- Microwave the sample first to get it solidly into the 90 to 100°F window.
- Apply an activated chemical heat pad or hand warmer immediately after, before the sample has a chance to start cooling, to maintain temperature for several hours when properly insulated.
- Wrap the whole assembly in insulation, whether that’s a commercial belt, a sock, or a snug pouch.
- Keep the assembly close to your body, which adds a passive layer of warmth on top of the pad’s active heat.
- Check the strip again a few minutes before you’re called in, giving yourself time to react if something drifted.
One placement detail matters more than almost anything else in this whole process. Keep the heat pad on the opposite side of the container from the temperature strip. If the pad sits directly behind or against the strip, the strip reads the pad’s surface temperature instead of the liquid’s actual temperature, and you’ll walk in thinking you’re at 97°F when the sample itself might be well outside range. Secure the pad on one face, keep the strip clear on another, and insulate the whole thing as a unit.
Pro Tip: Ambient conditions change everything about how long a maintenance strategy holds. A pad that keeps a sample warm for six hours in a heated car will lose that battle in under half that time on a cold sidewalk in January. Plan your heating and departure timing around the actual conditions you’ll be in, not ideal ones.
Quality chemical pads and hand warmers can maintain a sample within range for several hours when applied correctly and insulated well, but that’s a best-case number. Cold weather, a long wait, or a poorly sealed wrap all cut into that window fast. A wearable option like the one covered in a synthetic urine belt guide solves a lot of the placement and insulation problems at once, since body contact and pad placement are built into the design instead of improvised.
How Labs Check Temperature (and What Else They Test)
Collection staff move fast once you hand over the cup. Most facilities check the temperature strip on the container within minutes of collection, sometimes immediately, using an adhesive strip built into the cup or a separate digital thermometer. There’s no long delay where a cooling sample might sneak back into range. The window they’re checking against is tight on purpose.
Temperature is the fastest test but far from the only one. Specimen validity testing looks at several markers together:
- Specific gravity, which measures how concentrated the urine is and flags samples that are too diluted or unnaturally uniform.
- pH, which should fall within a normal human range and can expose synthetic formulas with the wrong chemical balance.
- Creatinine, a waste product that’s present in real urine at predictable levels and often absent or wrong in low-quality synthetic mixes.
- Uric acid, another marker some labs check specifically because older synthetic formulas left it out entirely.
Technicians are also trained to spot the physical signs of tampering, including adhesive residue from a hand warmer, an oddly warm cup exterior, or liquid that looks too clear or too uniform compared to a typical sample.
When a sample comes back outside the 90 to 100°F window, the usual response is immediate. Most sites require re-collection under direct observation right then, meaning a staff member watches the next attempt. If the donor declines or can’t produce another sample, that gets documented as a refusal to test, which most employers and testing programs treat the same as a positive result.
Before handing the cup over, take five seconds to glance at the strip yourself. If it’s reading anywhere near the edge of the range, you still have a small window to adjust before it leaves your hands. A breakdown of how urinalysis testing works covers the full collection process in more detail if you want to know what happens after the cup leaves your hands, too.
Common Mistakes and Quick Fixes at the Collection Site
Most temperature failures come down to a handful of repeatable mistakes, and most of them have a fast fix if you catch them early enough.
- No reading on the strip. This gets misread constantly. A blank strip usually means the sample is too hot, not too cold, since most strips are calibrated to a specific window and simply won’t register above it. Let the sample sit for a minute or two to cool slightly, then recheck instead of assuming you need more heat.
- Overheated sample. If the strip confirms the sample is above 100°F, crack the lid briefly, let a little air exchange happen, or hold the container against a cool surface for a minute. Recheck before moving on, and don’t rush this step. Reheating an already-hot sample by mistake sets you back further.
- Cold sample at handover. This is the worst spot to be in, since a microwave usually isn’t available at the collection site. A hand warmer pressed directly against the container for several minutes can pull a borderline sample up a few degrees, but it’s slow and unreliable as a rescue plan. This is why heating early and maintaining well matters far more than any last-second fix.
- Misplaced heat pad. Sticking the pad over the strip gives a false reading, as covered earlier. Double check placement before you leave the house, not in the waiting room.
- Relying on body heat alone. Skin temperature can’t push a cold sample into range fast enough. Treat body heat as backup support for an already-warm sample, never as the primary heat source.
- Skipping the shake. Microwaves heat unevenly, and a strip read on an unmixed sample can show a number that has nothing to do with the liquid’s actual average temperature.
A Note From Michael at Passdrugtest
The mistake I see most often isn’t a bad product. It’s bad timing. People heat their sample way too early, sit in traffic for forty minutes, and walk in with something that’s cooled well past the window without ever checking the strip again before handover. The fix isn’t complicated: heat close to departure, check the strip right before you leave, and check it again right before you go inside.
The other repeat offender is placement. A heat pad taped over the strip will lie to you every time, and it’s a five-second fix once you know to look for it.
For the deeper mechanics of holding temperature over a longer wait, the synthetic urine shelf life guide and the storage and warming resource cover the details this section doesn’t have room for.
Your One-Minute Pre-Departure Checklist
Before I leave the house for any appointment where temperature matters, I run through the same short list. It takes less than a minute and it’s caught more problems than I can count.
- Check the temperature strip. Confirm it’s reading 90 to 100°F, ideally closer to 97°F.
- Confirm the heat pad is placed opposite the strip, not on top of or behind it.
- Wrap the container in insulation, whether that’s a sock, pouch, or belt.
- Pack a spare activated pad in case the first one loses heat faster than expected.
- Shake the container gently right before the final check to even out any hot or cold spots.
One timing note worth repeating: don’t heat too early. Heating the sample the night before or hours ahead of an appointment just gives it more time to drift out of range before you need it.
— MIchael
Products That Make Temperature Control Easier
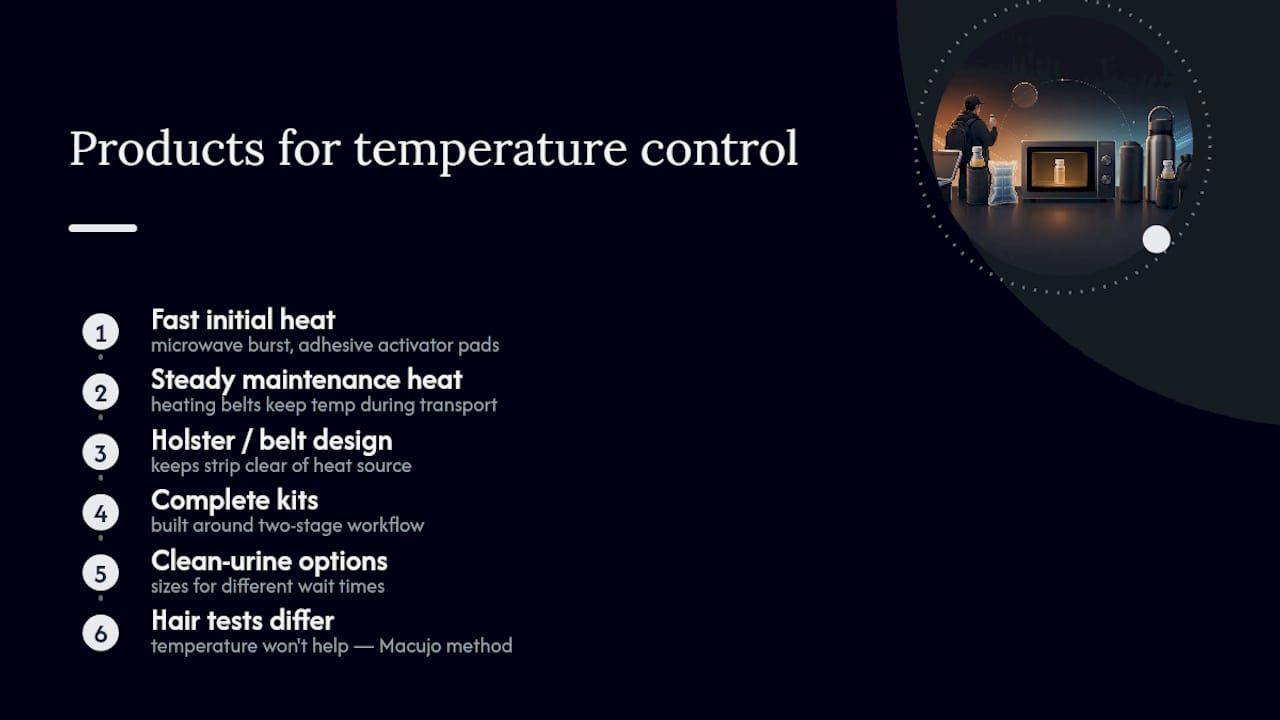
Getting the microwave burst timing, pad placement, and insulation layering right by trial and error is doable, but it’s a lot easier with gear built for exactly this job. Passdrugtest’s detox and synthetic urine product line includes heating belts, adhesive activator pads, and complete kits designed around the same two-stage workflow covered here: fast initial heat, then steady maintenance heat that holds through transport and waiting rooms.
A quality kit takes the guesswork out of the pad placement rule and the insulation layering, since the holster or belt is built to keep the strip clear of the heat source from the start. For urine-based screening rather than a hair test, the clean urine products category offers options sized for different wait times and conditions.
If your upcoming test is a hair follicle screening instead of a urine collection, temperature management won’t help you there. That’s a different chemistry problem entirely, and Mike Macujo’s Macujo Method remains the most trusted approach for stripping metabolites from hair shafts, built around the Macujo Aloe Rid Shampoo as its core product. Check the product page for the full kit and start your prep with enough lead time before test day.
Sources
The temperature ranges, SVT markers, and collection procedures referenced throughout this guide draw on a handful of specific resources worth bookmarking. Countrywide Testing’s breakdown of failed temperature checks covers the consequences side in detail. Arcpoint Labs’ explainer on detecting fake urine lays out the full SVT panel labs run. For hands-on heating technique, MedShun’s guide to fake urine temperature control and Shell Shock’s guide to keeping synthetic urine warm both go deep on pad selection and placement.
- Can a lab drug test detect fake urine? (Arcpoint Labs blog)
- Maintaining fake urine: temperature control techniques (MedShun)